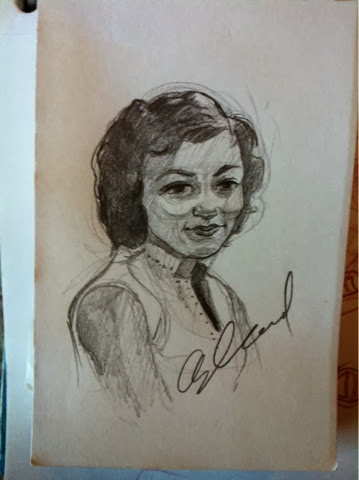
I started taking a class about creating imaginary worlds with Sean Muray. Here is some of the artwork from that class.
Kurt Aspland is a graduate of the Art Center College of Design in Pasadena, California and has been drawing, painting and teaching for well over 30 years. He has been published in multiple magazines including The Disney Magazine, Forbes, The Wall Street Journal and Dallas Morning News to name a few. He has taught at Drexel University in Philadelphia and the Pennsylvania School of Art and Design.
Friday, February 28, 2014
Thursday, February 27, 2014
Eliminate the Paper!
Eliminate the paper in a traditional sketch in photoshop.
Often times you will create a drawing on a piece of paper and you will want to scan it and place it in photoshop. This is a quick trick to get rid of the background(the paper) and leave only the black line art on its own layer.
 |
| © Kurt Aspland "Mob Boss Tomatoes" |
Step 1. Open the file Mob Boss Tomatoes.jpg. Click on the background layer and rename it base. Once you have opened the drawing, go to the menu and select Image > Adjustments > Levels (Command L). The level palette lets you establish a white point and and a black point. So click on the white eyedropper and click on the beige paper. Next click on the black eyedropper and click on the one of the dark lines. Now slide the slider to where your image is basically just black and white with no grey. Hit OK. Your image should look like this.
Step 2. Create a new layer, call it tomatoDrawing and fill it with 100% Black and then add a layer mask to it. You can turn the visibility off by clicking on the eyeball next to the layer.
 |
| Step 2 Fill tomatoDrawing layer with black. |
Step 3. Click on the base layer, select all, and copy.
Step 4. Now hold down option key while clicking on the mask portion of the tomatoDrawing layer. The mask portion of the layer now has become visible. Hit Command-V to paste into this mask area the image that you copied earlier. Deselect it if it is selected and press Command-I to invert the image. Turn the visibility of TomatoBase back on.
 |
| Step 4 Create your mask. |
Step 5. Click on the base layer and fill it with a neutral grey color. What you have done is basically created a mask of your line art. Now you can paint to your hearts content without worry about wrecking the line art.
 |
| Step 5 Neutral Grey |
Monday, February 17, 2014
Saturday, February 15, 2014
Wednesday, February 12, 2014
Monday, February 10, 2014
Saturday, February 8, 2014
Thursday, February 6, 2014
Wednesday, February 5, 2014
The Store is Open!
I just recently opened a store where you can purchase one of my morning portraits. Just follow the link below:
http://www.kurtaspland.com/
http://www.kurtaspland.com/
Saturday, February 1, 2014
Subscribe to:
Comments (Atom)


